Quick Fix: A running toilet is almost always one of three things: the flapper, the float, or the fill valve. Check the flapper first, if it's worn or warped, replace it. If water keeps flowing into the overflow tube, adjust the float or replace the fill valve.
Diagnose the Problem
That constant trickling sound? It’s not just annoying, a running toilet can waste thousands of gallons a month and add $50+ to your water bill. But here’s the good news: this is one of the easiest fixes in the house. Let’s figure out what’s actually wrong.
| Symptom | Likely Cause | Fix |
|---|---|---|
| Water flows into overflow tube | Float set too high | Adjust float (Fix 1) |
| Water flows into overflow tube constantly | Fill valve faulty | Replace fill valve (Fix 3) |
| Tank drains slowly without flushing | Flapper leaking | Replace flapper (Fix 2) |
| Toilet “ghost flushes” randomly | Flapper not sealing | Replace flapper (Fix 2) |
Wait 15 minutes. If color shows up in the bowl, your flapper is leaking. Mystery solved.
What You’ll Need
Also helpful: Adjustable pliers, flathead screwdriver, towel for drips.
Fix 1: Adjust the Float
The float tells the fill valve when to stop filling. If it’s set too high, water keeps flowing right into the overflow tube and down the drain.
Steps:
- Take off the tank lid, set it somewhere it won’t get knocked over
- Find the float. It’s either a ball on a metal arm (older toilets) or a cylinder riding on the fill valve (newer)
- Ball float: Bend the arm down slightly. That’s it.
- Cylinder float: Squeeze the clip and slide it down the shaft about half an inch
- You want the water level about an inch below the top of the overflow tube
- Flush and watch. Water should stop rising well before it reaches the overflow.
Time: 2 minutes. Seriously.
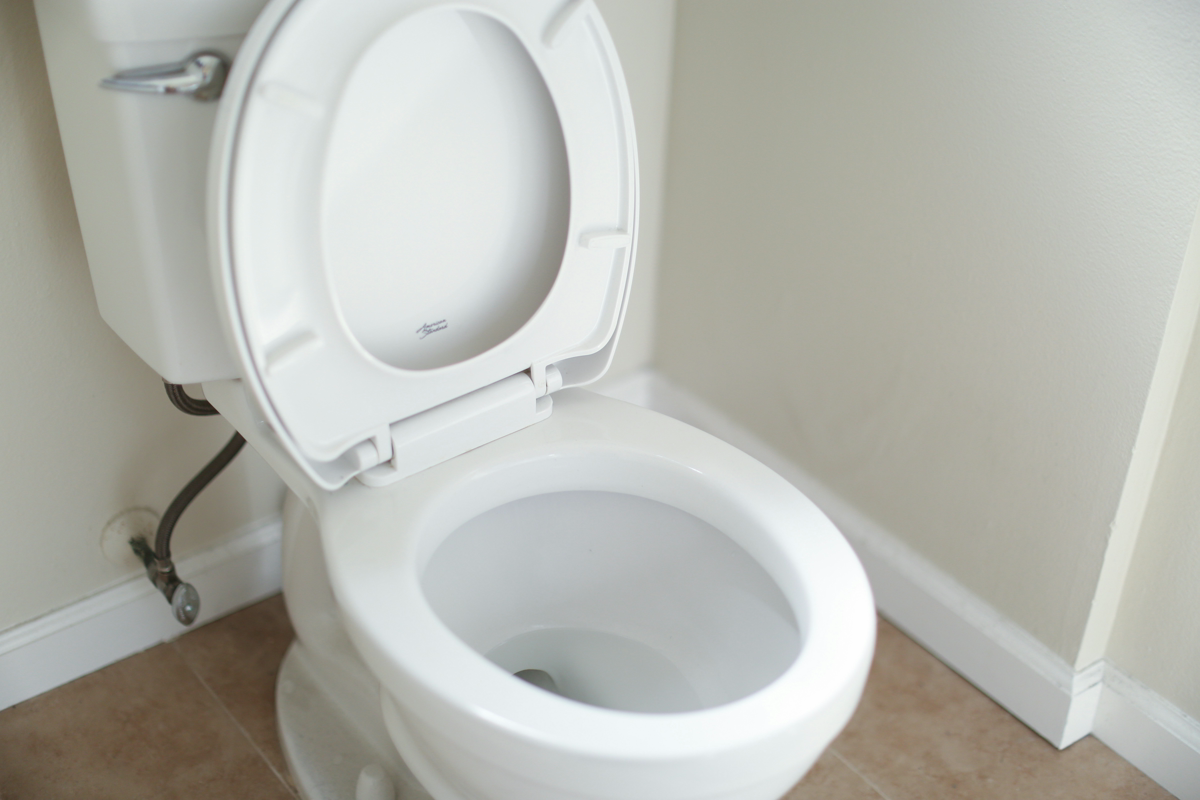
Fix 2: Replace the Flapper
Nine times out of ten, this is your problem. Flappers are rubber. They get old, they warp, they stop sealing. Water slowly leaks from tank to bowl, and the fill valve keeps running to compensate.
Steps:
- Turn off the water, The shut-off valve is behind the toilet, near the floor. Turn it clockwise.
- Flush to drain the tank
- Unhook the chain from the flush lever
- Pull off the old flapper, It hooks onto two posts on either side of the drain. Just pull the ears off.
- Snap on the new one, Make sure it sits flat over the drain opening
- Reattach the chain, Leave about half an inch of slack when the flapper is down. Too tight and it won’t seal. Too loose and the flush will be weak.
- Turn the water back on and test a few times
Time: 10 minutes, tops. And you just saved yourself a plumber call.
Fix 3: Replace the Fill Valve
If you’ve adjusted the float and replaced the flapper and the thing still runs, the fill valve itself is shot. It happens. They wear out after 5-7 years.
Steps:
- Turn off water and flush to drain the tank
- Sponge out the last inch of water at the bottom 3.4. Unscrew the retaining nut under the tank (big plastic nut holding the fill valve in)
- Lift out the old fill valve
- Drop in the new one, Make sure the rubber washer stays inside the tank
- Hand-tighten the retaining nut, then give it a quarter-turn with pliers. Don’t crank it or you’ll crack the tank.
- Reconnect the supply line, Hand-tight plus quarter-turn
- Turn on the water, check for leaks, adjust the float if needed
Time: 20 minutes. Still cheaper than a plumber.
When to Call a Pro
Look, I’m all for DIY. But some things are worth calling in help:
- Toilet still runs after trying all three fixes
- Water leaking from the base of the toilet (that’s a wax ring problem, and you’ll be pulling the whole toilet)
- Crack in the tank or bowl
- You just don’t feel comfortable with the repair
No shame in it. A good plumber can diagnose weird issues fast.
FAQ
How much water does a running toilet actually waste? A lot more than you’d think. A badly running toilet can waste 200+ gallons per day, that’s 6,000+ gallons a month. Your water bill will tell you about it.
Why does my toilet randomly flush itself? That’s called “ghost flushing.” The flapper is slowly leaking, tank gradually empties, and the fill valve kicks in to refill. Replace the flapper and it’ll stop.
How do I know if my flapper is the problem? Food coloring test. Add a few drops to the tank, don’t flush, wait 15 minutes. Color in the bowl = leaky flapper.
Will any flapper fit my toilet? Universal flappers like the Fluidmaster 502 fit most toilets. Kohler and some American Standard models use proprietary sizes, check your toilet model if a universal doesn’t work.