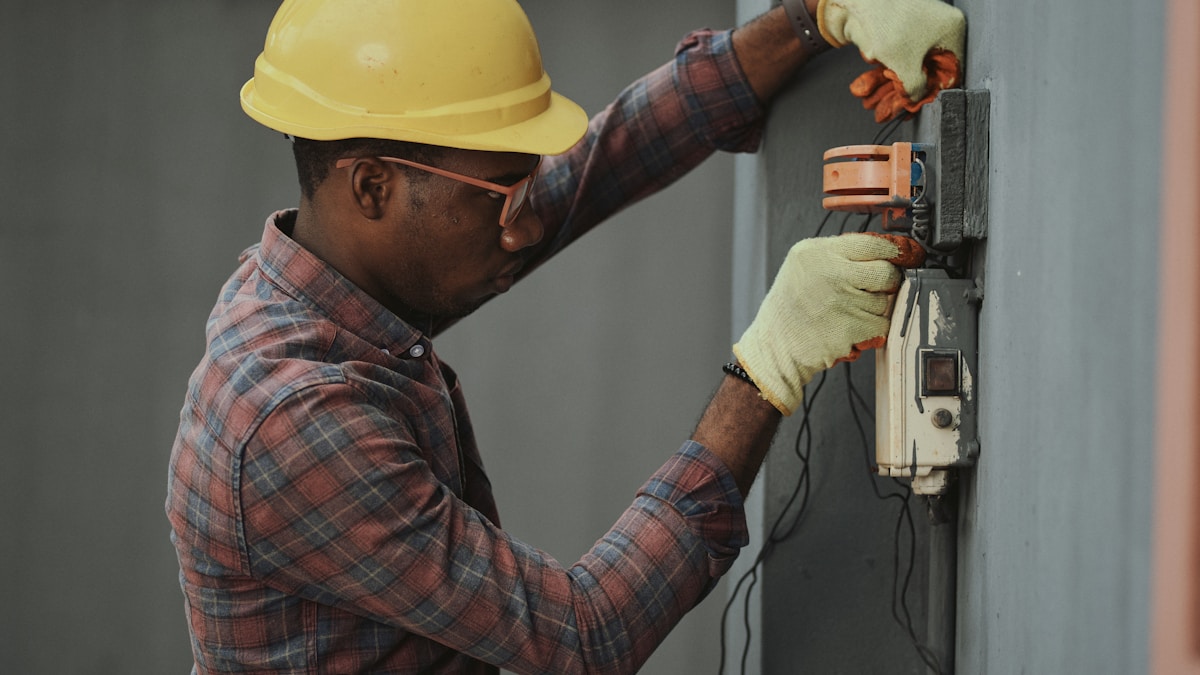
Quick Summary: A flickering switch, broken toggle, or simple upgrade? You can replace a light switch in under 30 minutes with just a screwdriver, voltage tester, and a new switch. This is genuinely one of the easiest electrical repairs you can do yourself—safer than you think, if you follow one rule: always kill the power first.
Why Replace a Light Switch?
Most of us don’t think about light switches until they stop working. A worn-out switch might flicker, feel loose, or make a crackling sound when you flip it. Sometimes it’s just about upgrading to something nicer—a modern rocker switch instead of that ’90s toggle, or a dimmer if you want control over the light level.
Here’s the thing: electricians charge $150 to $300 for this job. The actual work? Fifteen minutes. The switch itself costs under fifteen dollars. You’re paying for someone to show up, not for complexity.
The safety concerns people worry about are real, but they’re also manageable. No live electricity touches you if you follow the process. Turn off the power, test that it’s actually off, and you’re working with dead wires. It’s not dangerous—it’s just methodical.
What You’ll Need
Also helpful:
- Masking tape or a small piece of tape — to label wires if they’re not color-coded
- A flashlight — because switch boxes are never in well-lit places
- The old switch — keep it nearby to compare wire locations if you get confused
Pro tip: Match the new switch to the old one before you buy. If your old switch has screw terminals on the sides, get a new one with the same style. Modern back-wired switches (push-in connectors) are fine too, but consistency reduces confusion.
Step 1: Turn Off Power at the Breaker
This is non-negotiable. Go to your electrical panel (breaker box, usually in the basement, garage, or utility room).
- Find the breaker that controls the switch you’re replacing. The labels on the breaker panel should tell you which breaker controls which room. If they’re unlabeled, you’re about to do some detective work.
- Flip the switch on so the light is ON, then go back to the breaker panel.
- Start flipping breakers one at a time. When the light goes OFF, you’ve found your breaker.
- Once you’ve identified it, flip that breaker fully to the OFF position and leave it there.
Important: The breaker should switch completely to the OFF position. Some breakers get stuck in the middle—push it firmly all the way over.
Step 2: Test That the Power Is Actually Off
Never trust assumptions. Always test.
- Go back to the light switch and flip it up and down a few times. The light should NOT come on. If it does, you’ve got the wrong breaker—go back and try the next one.
- Once you’re sure the light won’t turn on, unscrew and remove the switch cover plate (the plastic or metal face around the switch).
- Hold your non-contact voltage tester within half an inch of the metal screw terminals on the switch itself. The tester should NOT beep or light up.
- Test it on a nearby outlet you KNOW has power to verify the tester works. It should beep/light up on a live outlet.
This step takes 60 seconds and could save your life. Do it.
Step 3: Unscrew the Switch from the Wall Box
You’re going to see two screws on the top and bottom of the switch (the ones on the sides are the wire terminals—don’t touch those yet).
- Using your insulated screwdriver, unscrew both the top and bottom screws that hold the switch to the electrical box in the wall.
- Gently pull the switch out of the wall. The wires are still attached, so don’t yank it—just ease it out until you can see the wire connections clearly.
Step 4: Disconnect the Old Wires
Here’s where you need to pay attention to wire colors. This is important because the hot and neutral wires MUST go to the right terminals on the new switch, or nothing works and you’ve wasted an hour.
Wire color code:
- Black or red wire = Hot (carries electricity to the switch)
- White wire = Neutral (returns power back to the panel)
- Green or bare copper = Ground (safety wire)
Most switches have three connections: a hot wire, a neutral wire, and sometimes a ground wire.
If your switch has screw terminals on the sides:
- Locate the brass-colored screw (this is where the hot/black wire connects) and loosen it by turning counterclockwise.
- Gently pull the black wire free.
- Locate the silver-colored screw (neutral/white wire) and loosen it.
- Pull the white wire free.
- If there’s a green screw terminal and a green or bare copper ground wire attached, loosen that too.
If your switch has back-wired push-in holes (newer switches):
- Insert the flat blade of a small screwdriver into the small slot directly beneath the wire hole.
- Push in gently while pulling the wire out. This releases the internal clip holding the wire.
- Repeat for each wire.
Write down or photograph which wire color connects where. If you’re paranoid (good instinct), put a small piece of tape on each wire and label it: “black,” “white,” “green.”
Step 5: Prepare the New Switch
Look at your new switch. You’ll see it has brass and silver screw terminals, just like the old one. The switch also has ON and OFF embossed into the plastic—use these labels to orient it correctly (ON should be up).
Step 6: Connect the Hot Wire to the New Switch
This is the most critical connection.
- Take the black or red hot wire you disconnected.
- If it’s frayed or the insulation is damaged, use a wire stripper to remove about 1/2 inch of insulation from the end of the wire.
- Using long-nose pliers, twist the exposed wire end into a clockwise loop (go around to the right, not left).
- Position this loop over the brass screw terminal. The wire should go CLOCKWISE around the screw so that when you tighten the screw, it pulls the wire tighter.
- Tighten the brass screw clockwise with your screwdriver. The wire should wrap around the screw roughly two-thirds to three-quarters of the way. Don’t overtighten—snug is enough.
Step 7: Connect the Neutral Wire to the New Switch
Same process, different terminal.
- Take the white neutral wire.
- If needed, strip 1/2 inch of insulation.
- Twist into a clockwise loop with long-nose pliers.
- Hook the loop over the silver screw terminal (the silver color matters—this is where neutral goes).
- Tighten the silver screw clockwise.
Step 8: Connect the Ground Wire (If Present)
If you have a green or bare copper ground wire:
- Strip and twist it into a clockwise loop.
- Connect it to the green screw terminal on the new switch, or directly to the green screw on the electrical box.
- Tighten securely.
If there’s no ground wire in your switch box, don’t worry—older homes sometimes don’t have one. You can still replace the switch safely.
Step 9: Push the Switch Back Into the Wall and Secure It
Now that all wires are connected:
- Carefully push the switch back into the electrical box, folding the wires neatly so they fit.
- Align the top and bottom screw holes with the electrical box.
- Using your screwdriver, reinstall the two mounting screws (top and bottom). Tighten snugly, but don’t over-tighten—you just need them secure enough that the switch doesn’t move.
Step 10: Restore Power and Test
- Go back to your breaker panel and flip the breaker back to the ON position.
- Return to the light switch.
- Flip it up. The light should turn on.
- Flip it down. The light should turn off.
- Test it a few times to make sure.
If the light works, you’re done. If it doesn’t turn on, go back to Step 1 and double-check your wire connections. Most of the time, a wire just wasn’t seated fully on the terminal—loosen it, reseat it, and tighten again.
Step 11: Install the Cover Plate
Screw the cover plate back on and you’re finished. Step back and admire your work.
When to Call a Pro
If any of the following are true, skip the DIY and call a licensed electrician:
- The switch box is damaged or crumbling (the plastic or metal box in the wall)
- The wires appear burned, melted, or damaged
- The switch didn’t work after you’ve triple-checked the connections
- There are more than three wires connected (indicates a three-way switch, which is more complex)
- You found a ground wire connected to the old switch, but your new switch doesn’t have a green terminal
- The breaker keeps tripping after you restore power
- You’re uncomfortable with any part of the process—seriously, there’s no shame in calling someone
FAQ
Is it really safe to do this myself?
Yes, if you follow the process. The only dangerous part is live electricity, and you eliminate that by turning off the breaker and testing with a voltage tester. Millions of people replace light switches every year without incident. You’ll be fine.
What if I mix up the black and white wires?
The light won’t work, but nothing will break or catch fire. You just flip the power back off, swap the wires to the correct terminals, and restore power. No permanent damage.
Do I need a permit to replace a light switch?
Probably not, but check your local building department to be sure. Most municipalities allow homeowners to replace switches without a permit. This is different from adding new circuits or major electrical work.
Can I replace a switch without turning off the power?
Technically yes, but absolutely don’t. Flipping a live switch while holding metal tools is how accidents happen. It takes 30 seconds to kill the power. Always do it.
What’s a three-way switch?
A three-way switch controls a light from two different locations (like the top and bottom of a staircase). It has three terminals instead of two and looks slightly different. If both switches control the same light, you’ve got a three-way setup. These are more complex—this guide covers single-pole switches (one switch controls one light). If you have a three-way, we’d recommend calling a pro unless you’re comfortable with more complex wiring.
Can I use a switch with back-wire connectors instead of screw terminals?
Yes, absolutely. Back-wired switches (push-in connectors on the rear) work great and are actually easier if you’re not comfortable wrapping wires around screws. Just insert the stripped wire into the correct hole on the back of the switch until it clicks. Equally safe and reliable.